Configuring Single Sign-On Settings at Okta
Okta provides support for SAML-based login. To provide your users with SAML-based login, create an application and register them with the application.
 Access the Okta Admin Console.
https://{your Okta subdomain}.okta.com/login/default
 Create an application.
Creating an application
 On the left pane, click [Applications] to open its section, and then click [Browse App Catalog].

 Enter "RICOH Smart Integration" into the search box to search for it.
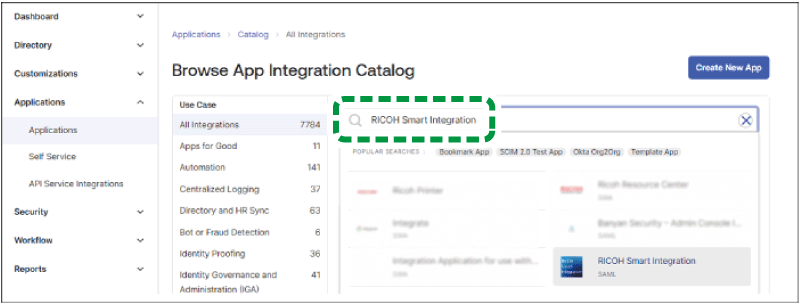
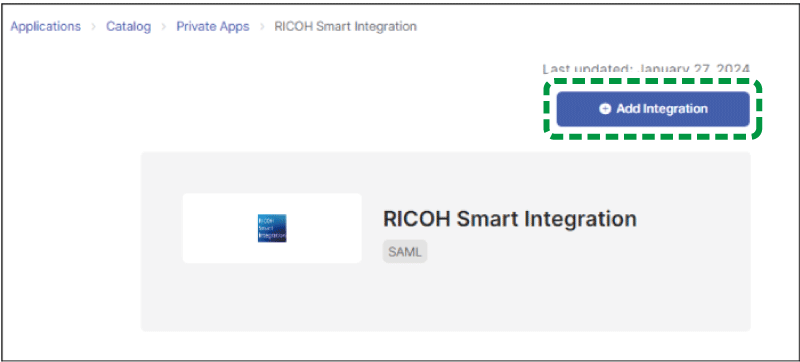
 Select "RICOH Smart Integration", and then click [Add Integration].
 Click [Done].
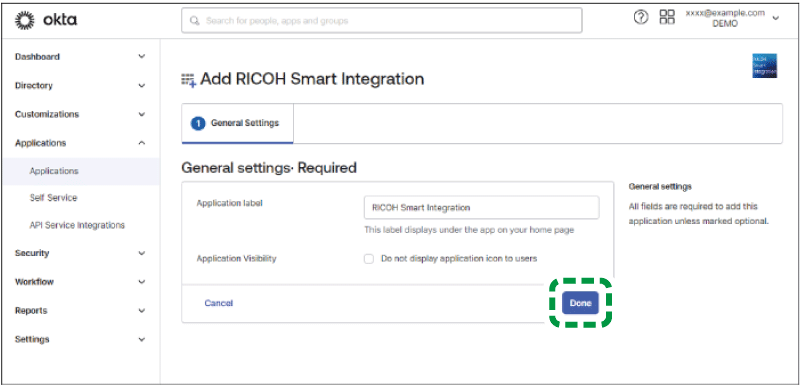
"Application label" and "Application Visibility" are optional.
 On the [Sign On] tab, click [Edit].
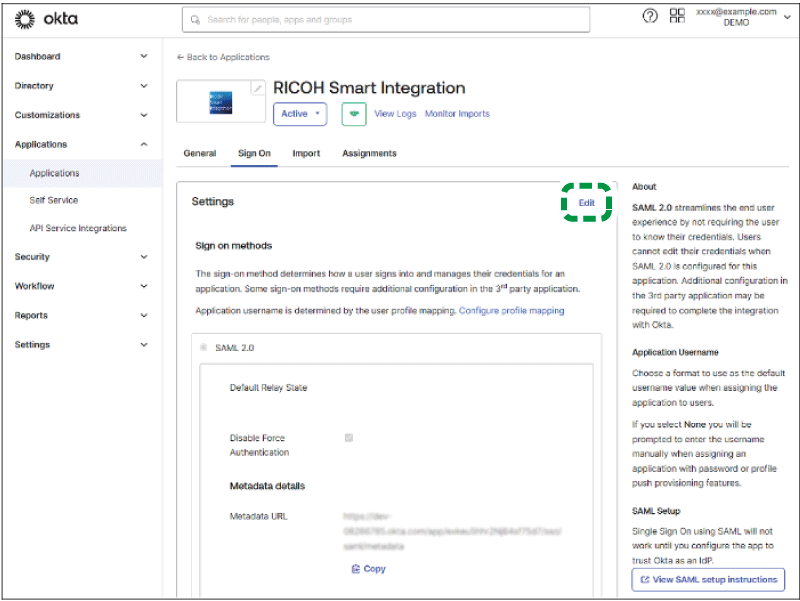
 Open "SAML Coordination Settings" of your "Tenant Information" on a different screen of your web browser.

 Configure the Okta settings listed in the table below as instructed.
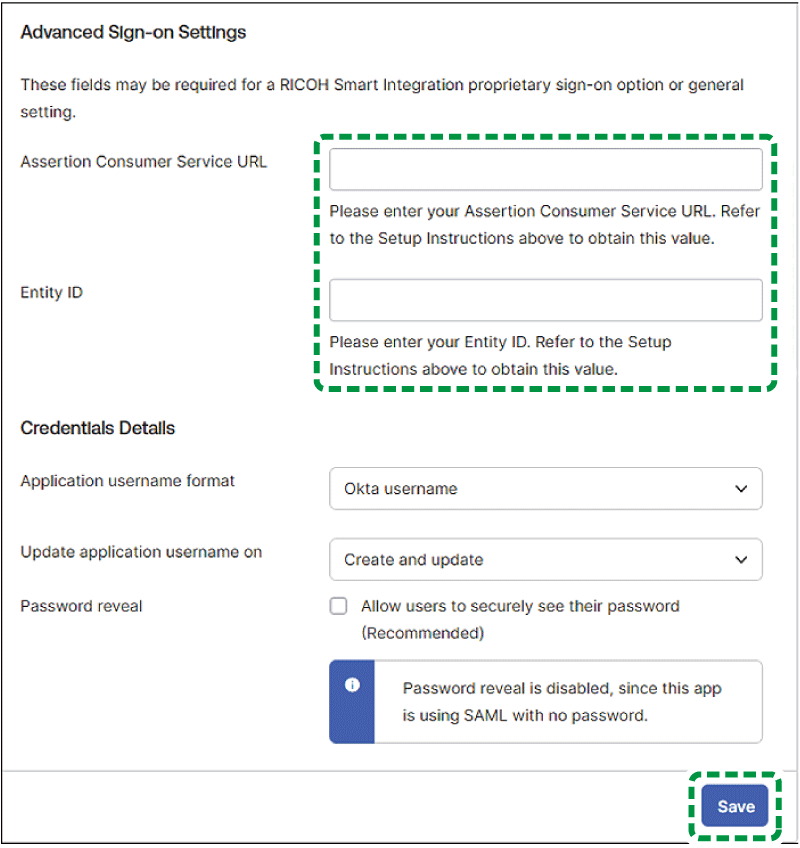
Item name on Okta | Value to be specified |
|---|---|
Assertion Consumer Service URL | Copy the "Response URL (or Assertion Consumer Service URL)" from "SAML Coordination Settings" in your "Tenant Information" at this site, and then paste it into this field. |
Entity ID | Copy the "Entity ID" from "SAML Coordination Settings" in your "Tenant Information" at this site, and then paste it into this field. |
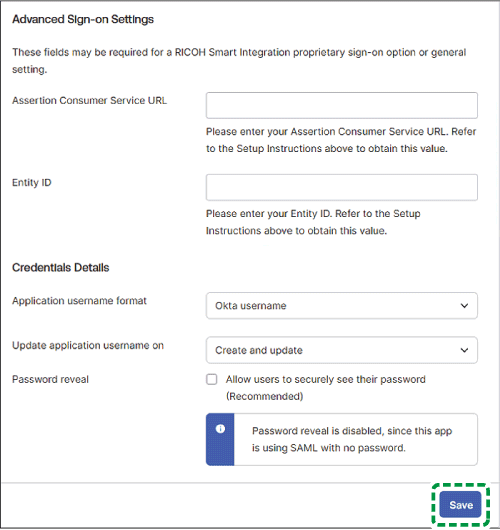
 Click [SAVE].
 Configure metadata at this site.
Configuring SAML xml Metadata at This Site
 Navigate to the screen of the application you created, and on the "Sign On" tab, click [Copy] for "Metadata URL" to copy the URL.
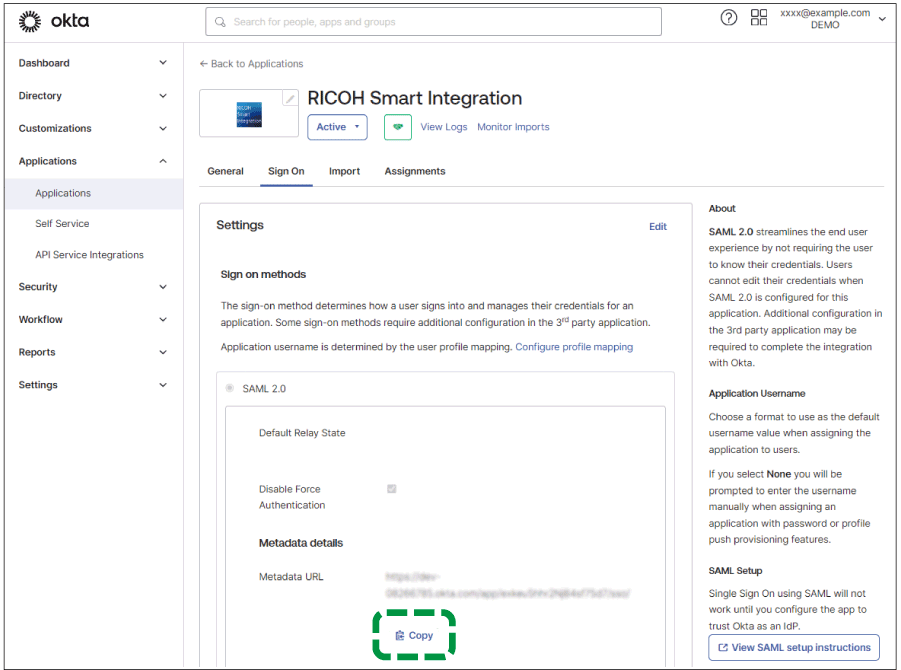
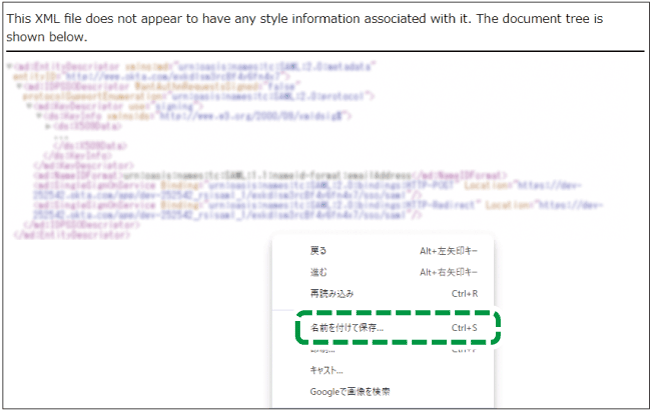
 Paste the copied URL into your web browser's address bar, and then click [Enter].

 Right-click anywhere on the screen, and then select "Save As" to download the xml data.
The steps here assume that you are using Chrome and may differ depending on the web browser you are using.
 Open "SAML Coordination Settings" of your "Tenant Info" at this site on a different screen of your web browser.
 Click [Set as Metadata] in "2. Set the ID provider information.".
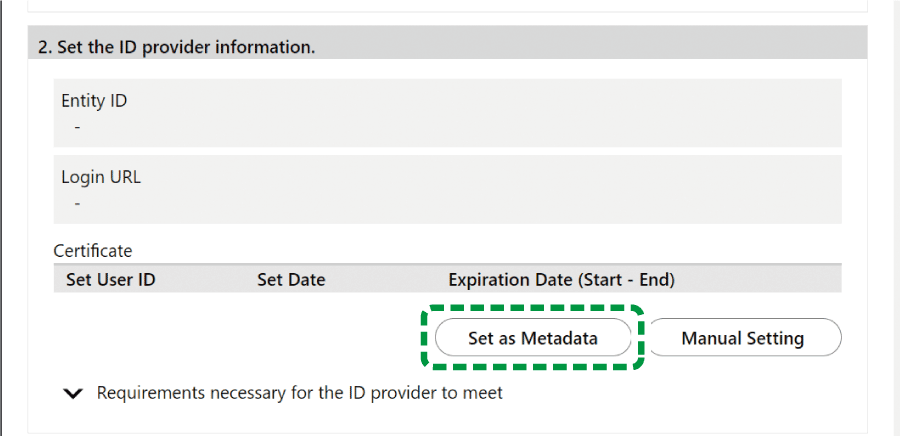
 Click [Select File], and then upload the file downloaded on step 3.
 Click [OK].
Registering users and groups with the application
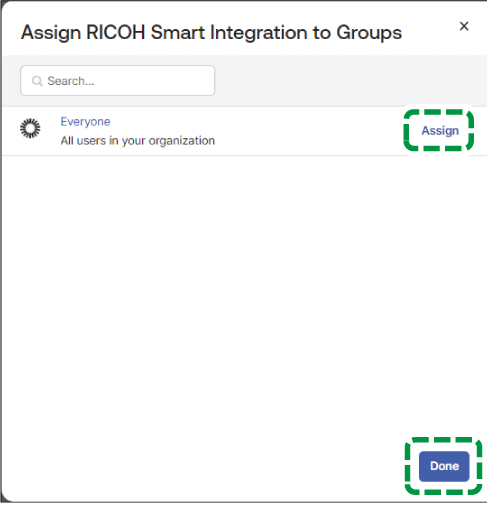
 Navigate to the screen of the application you created, and on the "Assignments" tab, click [Assign].

 For each user or group that you want to use SAML coordination, click [Assign], and then click [Done].
 Configure SAML Coordination Settings at this site.
Proceed to Configuring SAML Coordination Settings at This Site.
